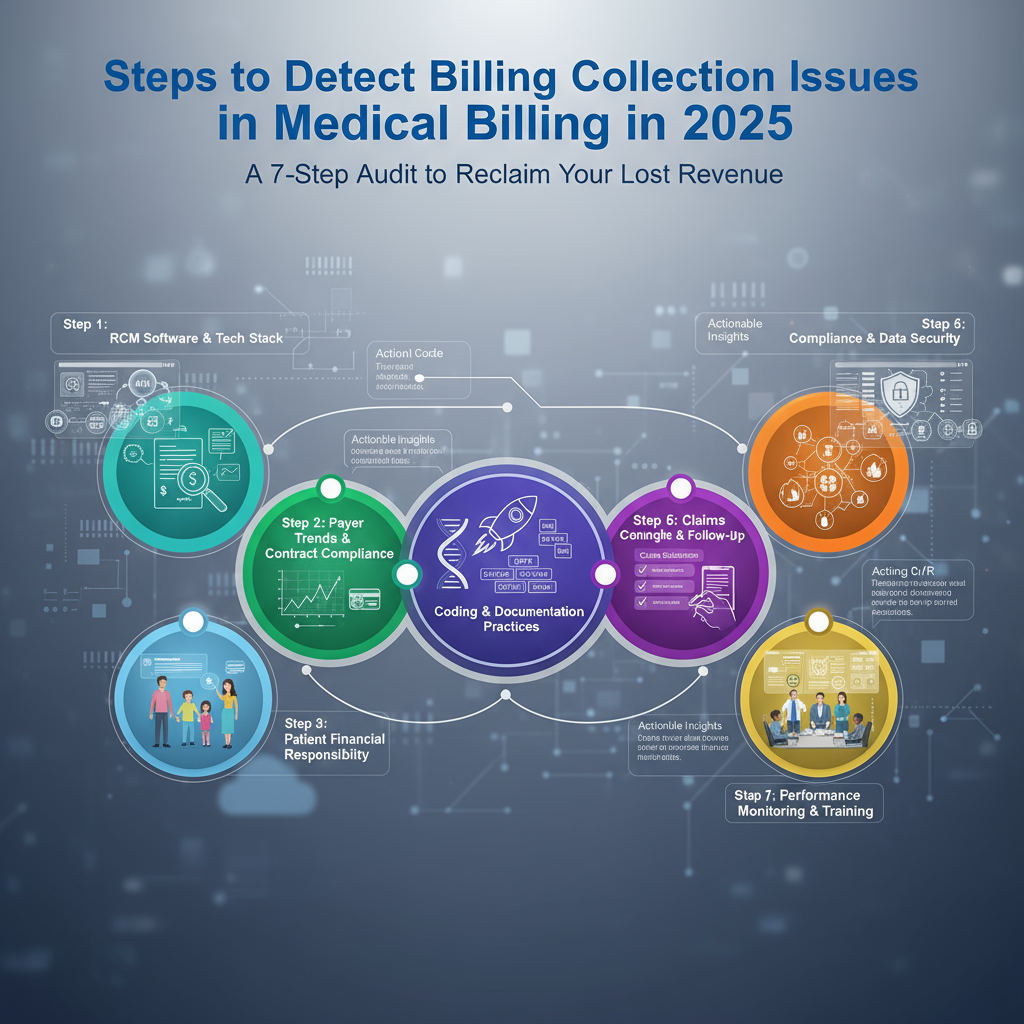
To detect billing collection issues in medical billing, you must systematically track and analyze your financial data. The core steps involve: 1) Calculating and monitoring your Key Performance Indicators (KPIs) like Net Collection Rate and Days in A/R, 2) Performing a deep-dive denial analysis to find root causes, 3) Auditing front-end processes for patient eligibility errors, 4) Scrutinizing your coding accuracy, 5) Analyzing aging reports for stalled claims, 6) Reviewing patient collection inefficiencies, and 7) Leveraging technology for continuous monitoring. This proactive, data-driven approach pinpoints exactly where your revenue is leaking.
Also Read: Benefits of Finding Collection Gaps Early
And Also Read About: How to Use Reports to Find Collection Gaps in Medical Billing in 2025
Introduction:
Imagine this: Your practice is busy, your schedule is packed, but at the end of the month, the bank account doesn’t reflect your hard work. You’re working in your business but not on it, and a silent revenue bleed is eating away at your profits. This isn’t a theoretical problem; it’s the daily reality for countless medical practices. The culprit? Inefficient billing collection processes.
In 2025, with evolving payer rules, complex codes, and heightened patient financial responsibility, guessing where the problems lie is a recipe for financial disaster. You need a forensic, systematic approach. This guide is your blueprint. We won’t just list problems; we’ll provide a step-by-step audit framework, backed by data and real-world micro-stories, that you can implement immediately to detect, diagnose, and defeat your billing collection issues. Let’s transform your accounts receivable from a liability into a well-oiled asset.
The Prerequisite: Gather Your “Financial Fingerprint”
Before you can diagnose, you need data. You cannot manage what you do not measure. Pull reports from your practice management system for the last 3-6 months. You will need:
- Aging A/R Report: The cornerstone of your audit.
- Denial Management Report: Categorized by reason and payer.
- Payment Posting Reports: To reconcile payments with charges.
- KPI Dashboards: If your system has them.
Micro-Story: Dr. Evans knew collections were down, but he blamed “slow insurance payers.” It wasn’t until his new office manager, Sarah, printed a denial report showing 40% of claims for “Cervicalgia” (M54.2) were being denied for “incorrect coding” that they discovered the coder was using an outdated code set. The problem wasn’t the payer; it was an internal, fixable error.
Step 1: Master Your Key Performance Indicators (KPIs)
KPIs are the vital signs of your practice’s financial health. Track these religiously.
A. Net Collection Rate (The Gold Standard)
- What it is: The percentage of total potential revenue you actually collect, after accounting for contractual adjustments. It answers: “Of the money I am allowed to collect, how much am I actually collecting?”
- Formula: (Payments / (Charges – Contractual Adjustments)) x 100
- The Red Flag: A rate below 95% indicates significant collection issues. Industry excellence is 97%+.
B. Days in Accounts Receivable (A/R)
- What it is: The average number of days it takes to get paid for a service.
- Formula: (Total A/R / Average Daily Charges)
- The Red Flag: Anything over 30-40 days suggests claims are moving too slowly through the system. If your A/R is 45 days, you’re essentially giving insurers a 45-day interest-free loan on your money.
C. Denial Rate (The First Sign of Trouble)
- What it is: The percentage of claims rejected by payers on the first submission.
- Formula: (Total Claims Denied / Total Claims Submitted) x 100
- The Red Flag: A rate over 5-7% is a major warning sign. It points to systematic errors in coding, registration, or submission.
D. Clean Claim Rate
- What it is: The percentage of claims paid on the first submission without manual intervention.
- The Red Flag: A rate below 90% means your front-end processes are broken, creating unnecessary rework and payment delays.
Step 2: Perform a Deep-Dive Denial Analysis
Don’t just note that claims are denied; discover why. Categorize every denial.
- Top Denial Categories:
- Eligibility & Registration (Front-End): Patient not covered, coverage terminated, inactive policy.
- Authorization/Pre-Certification: Lack of referral, expired authorization, service not authorized.
- Coding Issues: Incorrect ICD-10/CPT/HCPCS codes, mismatched diagnosis and procedure, unbundling.
- Timely Filing: Claim submitted after the payer’s deadline (often 90-180 days).
- Duplicate Claims: The same claim submitted multiple times.
Actionable Framework: The “5 Whys” of Denials
For every major denial reason, ask “why” iteratively until you find the root cause.
- Why were 20 claims denied for “lack of authorization”?
- Because the referral wasn’t on file.
- Why wasn’t the referral on file?
- Because the front desk didn’t verify it at the time of appointment confirmation.
- Why didn’t they verify it?
- Because the process isn’t part of their standard checklist.
- Why isn’t it on the checklist?
- Because the checklist was created 5 years ago and never updated.
- Why was it never updated?
- Because there’s no formal process for reviewing and updating office protocols.
Root Cause: Outdated front-desk protocol. Solution: Revise the checklist and implement mandatory training.
Step 3: Audit the Front Desk: Where the Financial Chain Begins
The registration desk is your first and most critical line of defense.
- Verify Eligibility in Real-Time: Don’t rely on old data. Use an automated eligibility verification tool integrated with your EMR for every patient, for every visit.
- Capture Accurate Patient Data: Typos in name, DOB, or policy number guarantee a denial.
- Collect Co-pays & Deductibles at Time of Service: The single most effective way to improve patient collections. If you aren’t doing this, you are writing off a significant portion of revenue.
- Secure Authorizations Proactively: Make it a non-negotiable step before the patient is even seen.
Step 4: Scrutinize Your Coding Accuracy
Medical coding is a dynamic, ever-changing language. Inaccuracies here are a primary source of denials.
- Audit for Specificity: ICD-10 requires high specificity. “Type 2 Diabetes Mellitus with hyperglycemia” (E11.65) is correct; just “Diabetes” (E11.9) is not.
- Check for Medical Necessity: Ensure the diagnosis codes justify the procedure codes performed. An advanced imaging scan (MRI) requires a specific, supporting diagnosis to be deemed medically necessary.
- Avoid Unbundling: Billing multiple codes for a group of procedures that are covered by a single comprehensive code.
- Actionable Step: Schedule quarterly random audits of 20-30 patient charts. Have a certified coder (or use an external audit service) review the documentation against the codes billed.
Step 5: Analyze the Aging A/R Report Like a Detective
Your A/R aging report tells a story. Don’t just look at the total; break it down.
- 0-30 Days: This bucket should be the largest. Claims here are moving normally.
- 31-60 Days: A growing bucket here indicates initial claims are being ignored or denied and not yet reworked. This is your priority.
- 61-90 Days: Danger zone. The chance of collection drops significantly. These require immediate phone calls to payers.
- 90+ Days: Critical. Often these are write-offs. Analyze why they got this old—was it timely filing? A difficult denial? A patient balance that was never pursued?
Pro Tip: Filter your A/R report by payer. You may find that one specific insurance company is responsible for 80% of your aging claims, indicating a need for a direct conversation with your provider representative.
Step 6: Review Patient Collection Inefficiencies
With high-deductible health plans, patients are responsible for a larger share of the bill.
- Are your statements clear? Can a patient easily understand what the charge is for, what insurance paid, and what they owe?
- Do you offer multiple payment channels? Online portal, phone, text-to-pay? Friction causes delay.
- Do you have a clear, compassionate financial policy? Are staff trained to discuss money confidently and offer payment plans?
Step 7: Leverage Technology for Proactive Monitoring
In 2025, manual tracking is obsolete. Advanced practice management systems use AI and machine learning to:
- Predict Denials: Flag claims with a high probability of denial before they are submitted.
- Automate Follow-Ups: Systematically send claims and follow up on unpaid ones.
- Provide Real-Time Dashboards: Give you a live view of your KPIs, so you can detect a negative trend the moment it appears.
Conclusion: From Detection to Correction
Detecting billing collection issues isn’t a one-time event; it’s an ongoing cycle of vigilance. By implementing this 7-step audit, you move from feeling helpless about your revenue to having absolute control. You will no longer wonder if you have a problem—you will know exactly what it is, where it is, and how to fix it.
Your Action Plan for Next Week:
- Day 1: Pull your KPI reports (Net Collection Rate, Days in A/R, Denial Rate).
- Day 2: Run a detailed denial report for the last quarter and categorize the top 3 reasons.
- Day 3: Perform the “5 Whys” analysis on your #1 denial reason.
- Day 4: Audit 10 patient registrations from last week for eligibility and data accuracy.
- Day 5: Review your A/R aging report and identify the payer with the oldest claims.
This systematic approach makes your billing process transparent, efficient, and ultimately, more profitable. You’ve done the hard work of patient care; now ensure your billing system works just as hard for you.